Building the Stand
Building the rocking horse's stand is quite straightforward. There are only eight parts and everything is pre-drilled so there's no measuring or laying out required.
Before going further, I must apologise for the small number of photos in this post - I didn't take enough of this stage of the build, but it's all fairly self-explanatory so I don't think too much is lost.
The parts are: the top rail, the bottom rail, the two turned vertical posts, two large feet and two small feet. The top and bottom rails, and the two large feet, all have large-diameter mortice holes pre-drilled to accept the cylindrical tenons on either end of the turned posts.
I dived straight in and glued and screwed the four feet to the bottom rail, using the pre-drilled pilot holes for alignment; unfortunately I then found that the mortice holes in the large feet didn't quite line up with the holes in the bottom rail, so that the posts' tenons wouldn't fit. I spent 20-30 minutes filing away the inside of the holes to get the tenons to fit, but alternatively you could fit the bottom rail and the feet onto the tenon and drill new pilot holes - you'd have to check which method gave the most accurate final result in terms of having the feet and posts centered left-to-right on the bottom rail.
With the posts dry-fitted to the bottom rail assembly, you should find that the top rail drops neatly onto the top tenons.
When you're happy with the fit, it's time to glue everything together. The posts are secured using 'wedged tenons' - the tenons have a 3-4mm saw cut across their diameter, so that when you tap the supplied wedge into the cut, the two sides of the tenon are forced apart and will grip tightly into the mortice holes. The wedges exert a lot of force so it's very important to ensure that you have them aligned across the rails, pressing forward and back along the length of the rail. If you have them the other way, aligned with the grain of the rail, the pressure of the wedge might split the rail.
The tenons are intentionally a little longer than necessary, so that they can be cut back flush with the rails when the glue is dry. The extra length means that if you try to seat the posts into place while the feet are sitting on a flat surface, they won't go all the way through (yes, I learned this the hard way!). Prop the bottom rail on a couple of pieces of scrap wood to give the tenon space to come through.
Put a thin coat of PVA glue around the outside of the tenons and the inside of the bottom rail's mortice holes, then drive the posts in with a mallet. When they're fully home, you can turn the assembly over, spread some glue into the wedge slots, and drive in the wedges. You may need to trim the wedges with a Stanley knife to get them to fit nicely across the width of the tenon. Make sure that the wedge goes far enough into the tenon that the bottom edge of the wedge is well below the surface of the rail - you want at least some of the wedge to be left after you trim the end of the tenon off. You can then repeat the process with the top rail - this is much easier as the whole assembly will now sit nicely on your work surface.
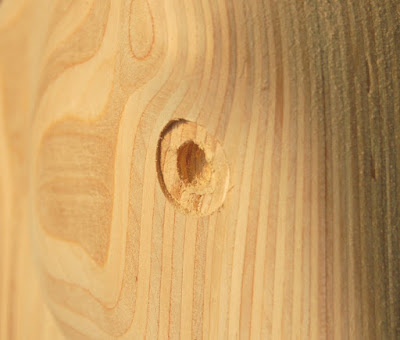
When the glue is dry, you're left with a lump of tenon sticking out of the rails, with a lump of wedge sticking out above that, the whole thing looking rather like a wafer in a tub of ice cream. To finish the joints, take your flush trim saw and carefully cut the protruding ends of the tenons off, flush with the surrounding surface. The technique (for right-handers) is to use your left finger tips to hold the saw blade down flat against the surface as you work the blade across sideways - that should ensure that the tenon is cut off flush without any risk of the saw teeth marking the surface.

The stand is now assembled and ready for final sanding and finishing. It's a good idea to give all the parts an initial sanding before assembly, because it becomes much harder to get into all the nooks and crannies once it's all together; however, it's not too bad either way. I'll talk more about the final sanding when I get to the dyeing stage.

Next, we'll start on assembling the horse itself.


Hi Chris,
ReplyDeleteIt's great that you are documenting this way. Your daughters will be pleasantly surprised when you show them this blog later on. All the best to your rocking horse woodworking venture. Looking good!
Chloe Hanson